DAY 01 — START WITH THE BASICS
Leave Auto. Meet your camera.
Why manual mode is worth learning, why Auto keeps turning white things grey, and the handful of controls you’ll use for the rest of the course.
Welcome. Here’s the plan.
I’m Dan Brugere, and I’m going to help you learn to shoot in manual mode. Most professional photographers shoot in manual because it lets them control how the camera sees light, and that controls the final image.
I’ll spend time on photography concepts, but not hours. I’ll cover camera settings, but not every menu. I’m going to teach you enough to get you shooting and building comfort in manual mode. When you finish, you’ll be comfortable controlling aperture, shutter speed, and ISO. The next time there’s a photo of your family, your pet, a bird, or a waterfall, your camera will already be in manual and you’ll be able to make the image you imagine.
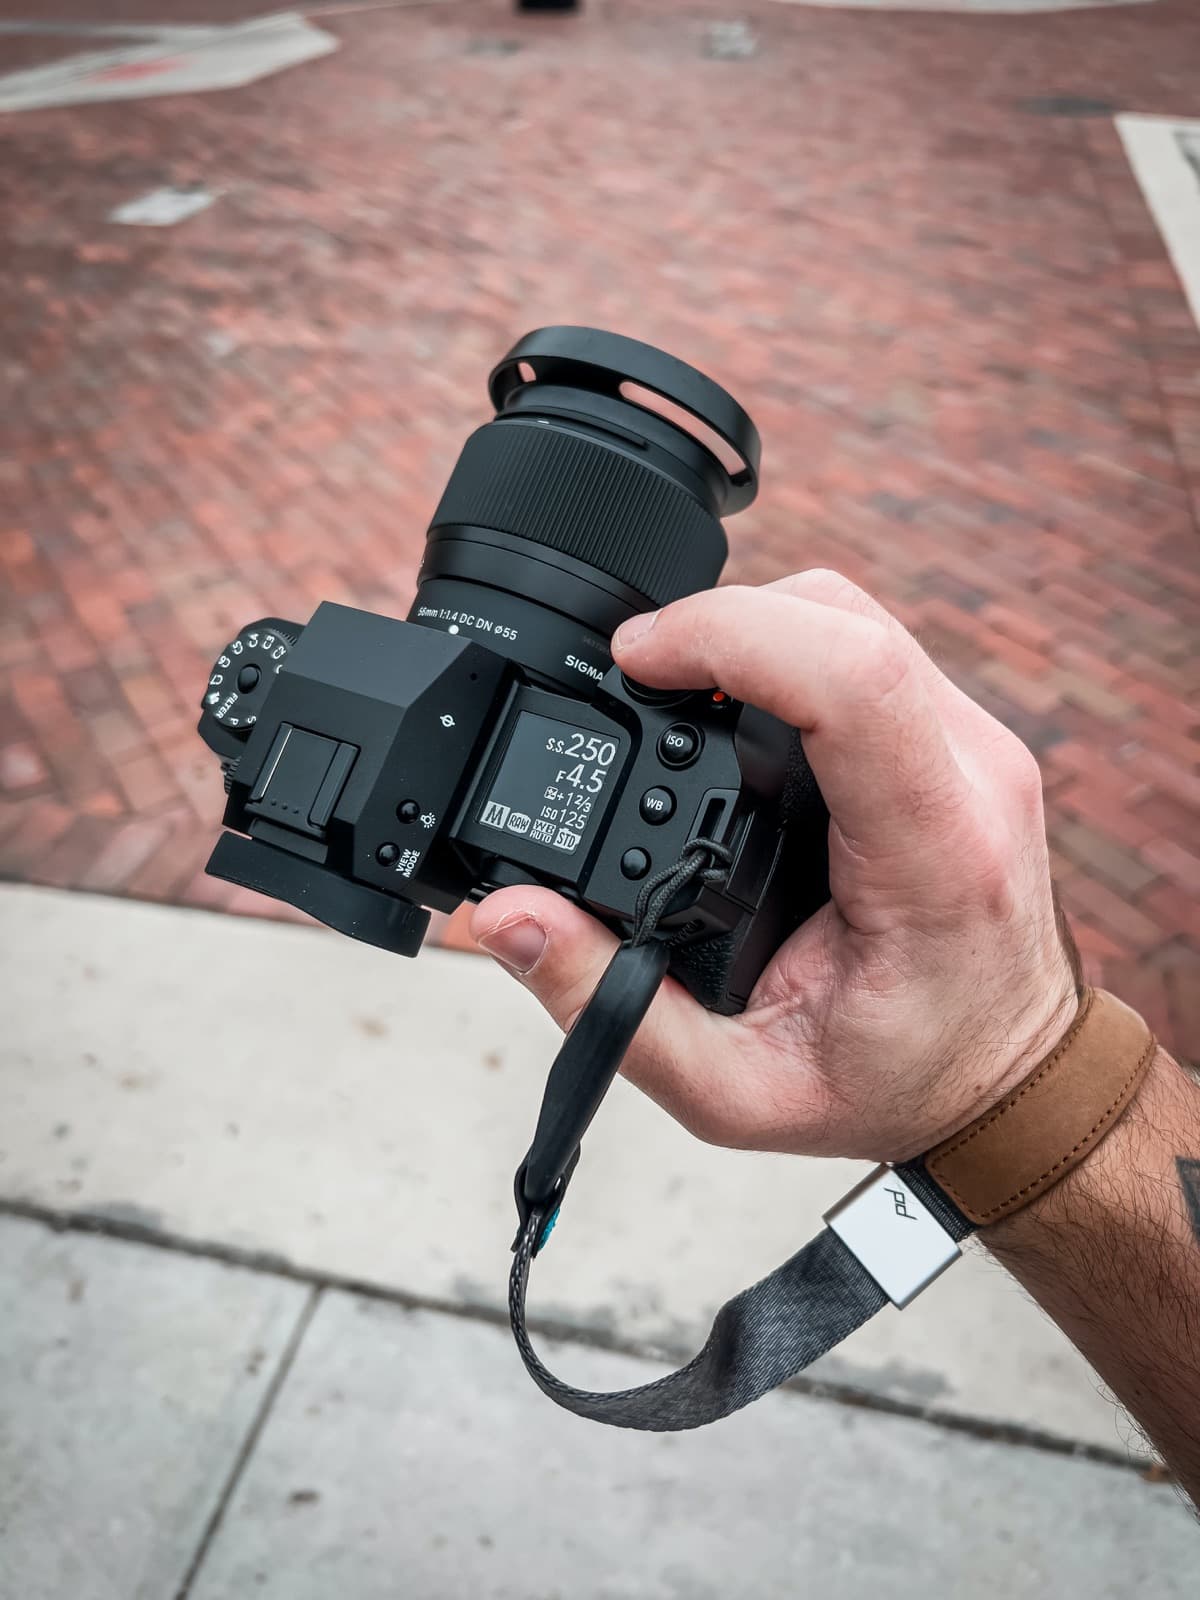
This course is designed for DSLR and mirrorless cameras with a manual mode. If you shoot with a phone, some of these settings may not be available to you, but you’ll still learn the core ideas behind every good exposure.
Auto vs. manual
If you’re taking this course, you probably already have a reason. You’ve used Auto and it isn’t cutting it. Here’s the difference in one sentence: in Auto, the camera chooses the settings. In manual, you do.
Auto mode keeps getting better. But it still doesn’t know what you want to create, and it doesn’t know everything about the scene in front of it. It can’t tell whether you want a blurry background, a frozen splash, or a silky waterfall. You can.
Your camera is trying to make everything grey
Your camera has a pre-programmed idea of what a correctly exposed photo looks like: a balance of light and dark. Try this. Put a white sheet of paper on a table, fill your frame with it, and take a picture in Auto. What color is the paper in the photo?
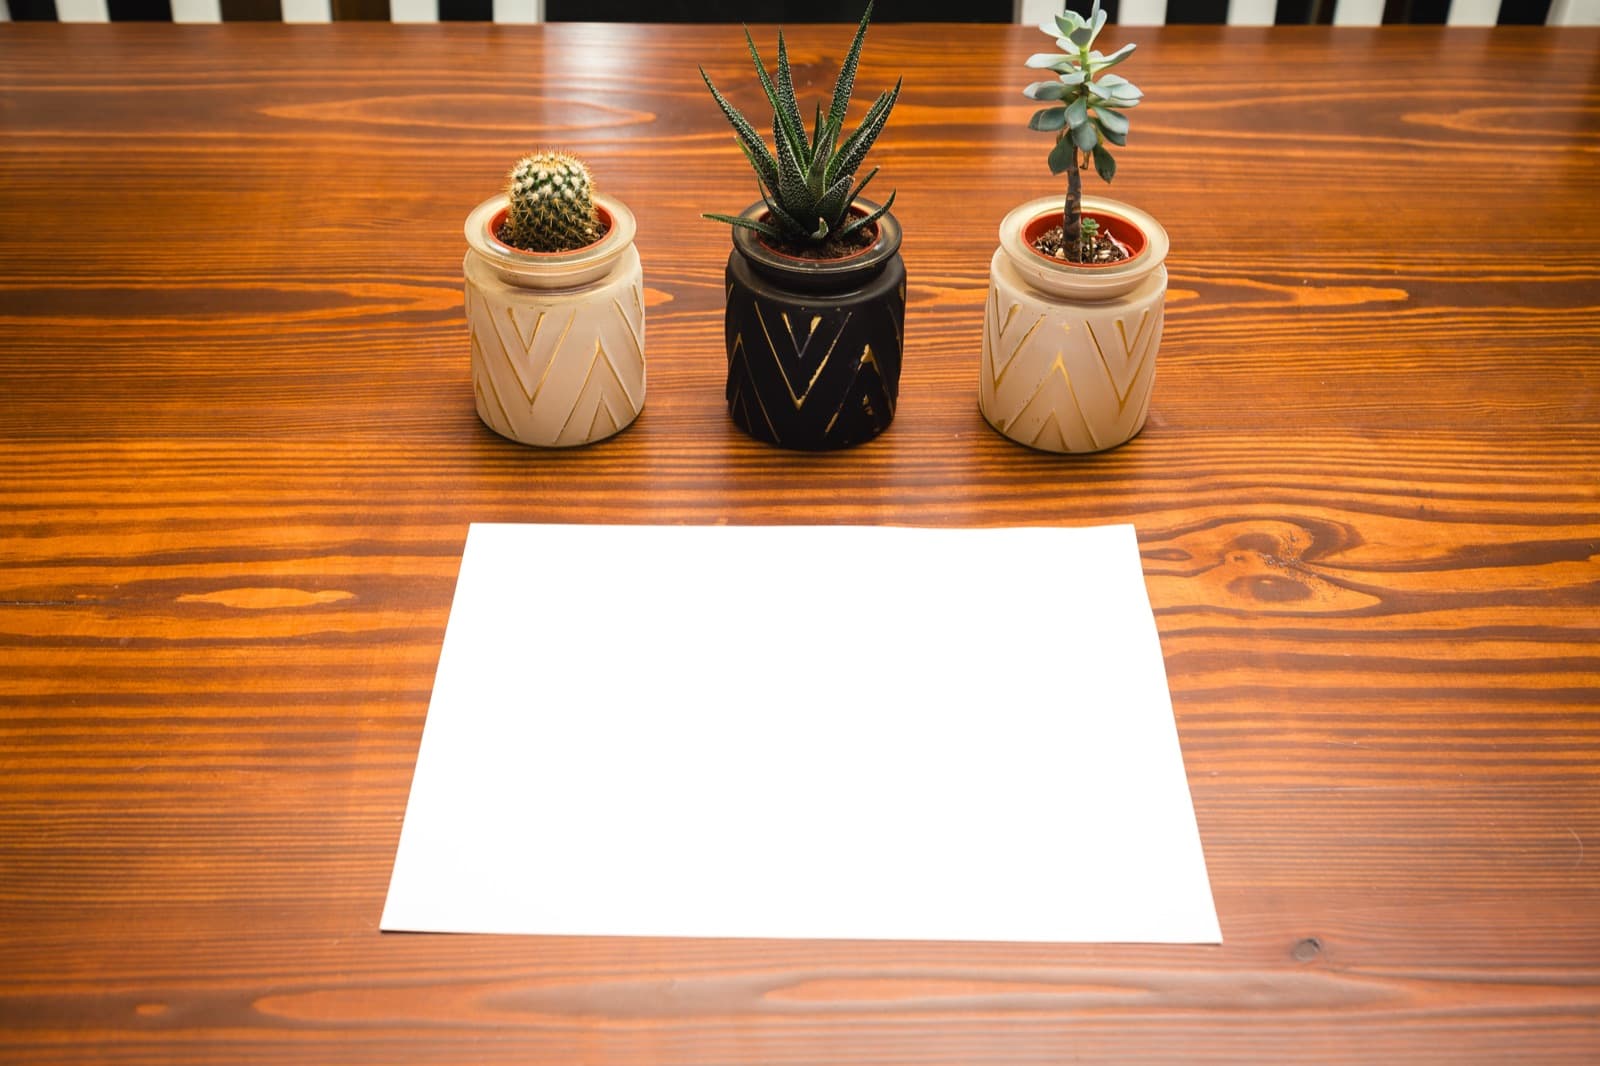

It’s grey. Your camera doesn’t know the paper should be white. It only knows what it sees, and it assumes the scene should average out halfway between black and white. So it chooses settings that make the paper grey. The same thing happens with snow, a white wedding dress, or a black dog.
When you use Auto, that middle grey is what your camera is aiming for. Once you understand aperture, shutter speed, and ISO, you can take control and decide how bright the photo should be.
The one idea behind this whole course
Every day of this course builds toward a simple recipe that most photographers follow, whether they think about it or not:
- Choose your priority. What matters most in this photo: a blurry background, frozen motion, or a clean image?
- Use your camera’s light meter to see whether the photo will be too bright or too dark.
- Adjust the other settings, take the photo, review it, and adjust again.
You don’t need to memorize this today. We’ll come back to it on Day 5, once you know what each setting does.
Read your camera manual (really)
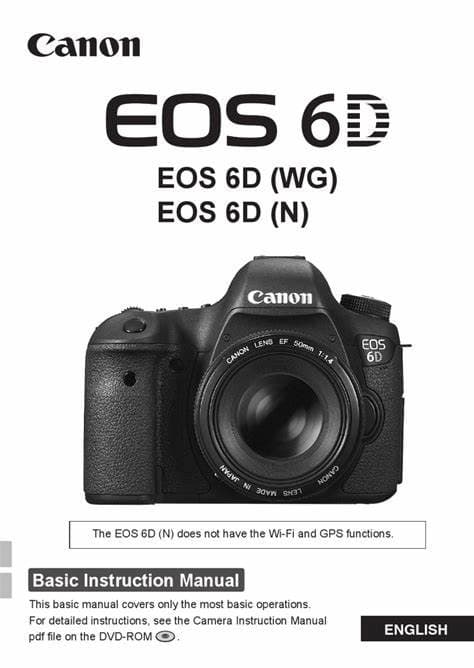
There’s a book that unlocks every setting on your camera: the manual. The first thing I did when I bought my camera was read it. I don’t expect you to memorize it. You just need a sense of the features and where the controls are.
A pilot doesn’t climb into a new airplane and take off. They learn the machine first. Your camera is a lot simpler than an airplane, but you get the point.
The controls you’ll use in this course
Every camera is laid out a little differently, but these are the controls I use most. Find each one on yours.
- Mode dial. Usually on top. Look for M for manual. Auto is often a green square or the letter A.
- Power switch. Turns the camera on.
- Shutter release. Press halfway to focus and take a light reading. Press all the way to take the photo.
- Aperture control. Opens and closes the opening in your lens. Smaller numbers mean a wider opening. Day 2 covers this.
- Shutter speed control. Sets how long light hits the sensor. Day 3 covers this.
- ISO control. Brightens the image electronically. Lower ISO means cleaner photos, so we’ll keep it as low as we can. Day 4 covers this.
- Focus point selector. Tells your camera which part of the scene should be sharpest.
- Light meter. A small scale in your viewfinder or on the screen, running from −3 to +3. It tells you whether your settings will make the photo darker or brighter than the camera expects.
Settings to set and forget
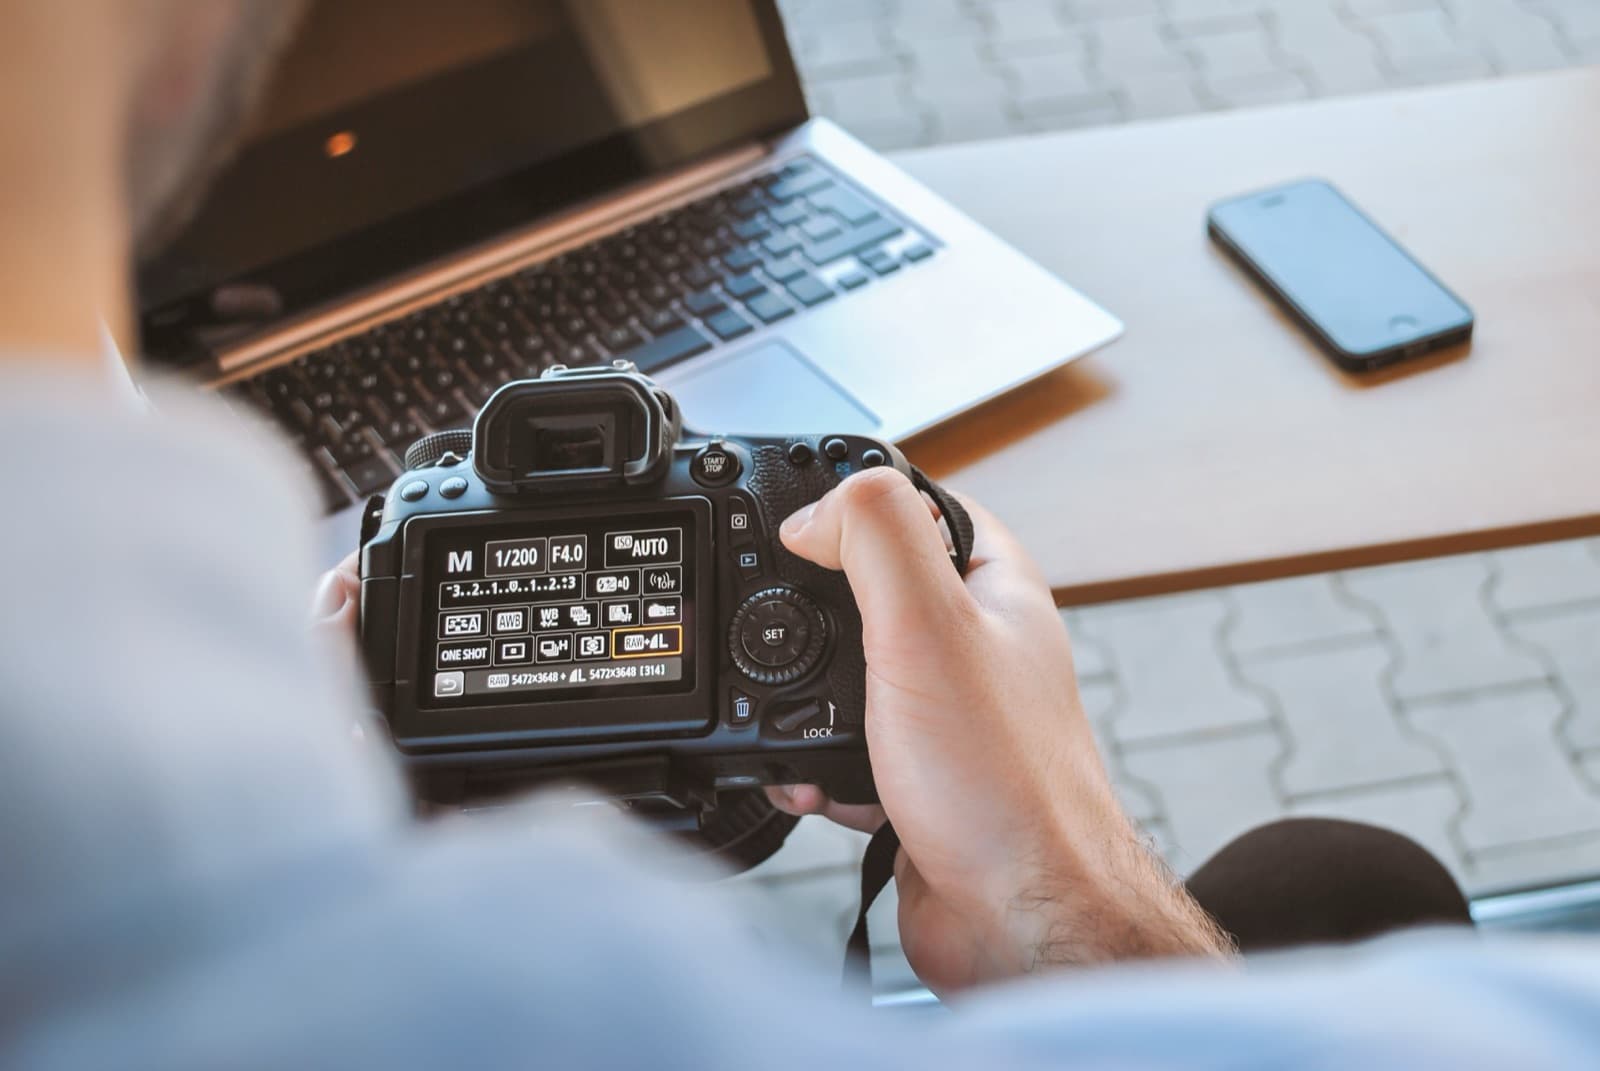
Your camera has lots of settings that change how it sees light. When I’m photographing portraits or events, about 80% of the time I’m not touching them. So we’re going to keep it simple: pick these once and leave them alone.
| Setting | Choose this | Why |
|---|---|---|
| Focus mode | One Shot (Canon) or AF-S (Nikon, Sony) | Focuses once when you half-press. Right for anything that isn’t moving much. |
| White balance | Auto (AWB) | Modern cameras adjust color well on their own. We’ll look at it more on Day 7. |
| Metering mode | Evaluative (Canon), Matrix (Nikon), or Multi (Sony) | In manual, the meter only makes suggestions. This mode reads the whole scene. |
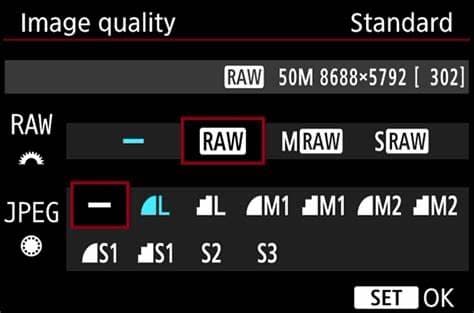
| File type | RAW if you’ll edit, JPEG if you won’t | RAW keeps far more detail for fixing photos in Lightroom or Capture One. |
| Auto ISO | Off | Otherwise the camera keeps changing ISO behind your back while you’re learning. |
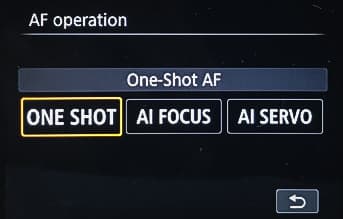
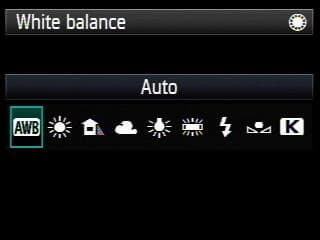
What these settings look like on a Canon. Your menus will look similar.
About file type: I shoot 100% RAW. It’s saved me more than once when a photo came out too dark, because RAW files hold enough information to recover it. If you’re never going to edit, or you need to send photos straight from the camera to a printer or TV, JPEG is fine. I set my camera to RAW years ago and haven’t touched it since.
Do the honors
Turn your mode dial to M. Leave it there. From now on, your camera is in manual mode unless you have a very good reason to change it.
YOUR CAMERA EXERCISE
The white paper test
- Put a plain white sheet of paper on a table in normal indoor light.
- Set your camera to Auto. Move in until the paper fills the whole frame, and take a photo.
- Look at the result on your screen. Is the paper white, or grey?
- Switch to M. Find where your camera shows aperture, shutter speed, ISO, and the light meter. Turn each control and watch what changes on the screen.
- Set the “set and forget” settings from the table above, including turning Auto ISO off.
Don’t worry about getting a good photo today. The goal is to know where everything is.
Before you move on
- In Auto, the camera guesses. In manual, you decide.
- Your camera’s meter tries to make every scene middle grey.
- The recipe: choose your priority, read the meter, adjust.
- Set and forget: One Shot, Auto white balance, evaluative metering, RAW if you edit, Auto ISO off.
KNOWLEDGE CHECK · 5 QUESTIONS
Pop quiz
No pressure. Check your answers, read why, and try again as many times as you like.
Progress is saved in this browser. No account needed.